Install
ITASC runs inside napari, a free program for viewing microscopy images. This page installs both on a computer with nothing set up yet. It takes about ten minutes, most of it waiting for one large download.
You do not need Python or any programming to do this. You type three commands into a terminal, one at a time. A terminal is a window where you type commands instead of clicking; the steps below open it for you.
This installs the full ITASC pipeline. Installing a single stage instead changes one word in the last command, covered at the end under Other stages.
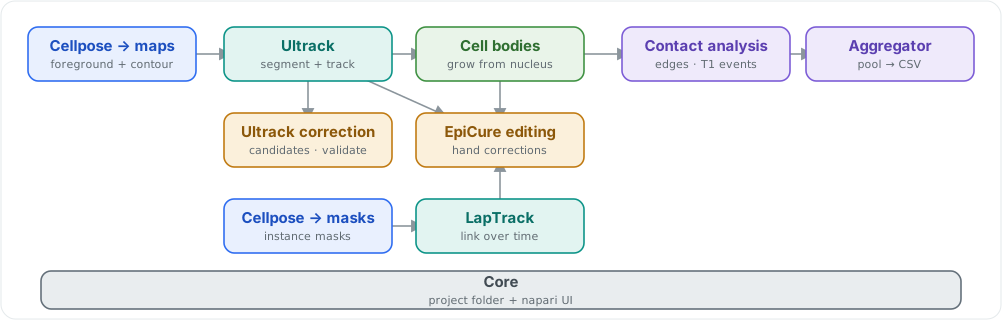
Everything ITASC is made of. This page installs the whole set; each getting-started page that follows installs one slice, and its board shows which pieces light up.
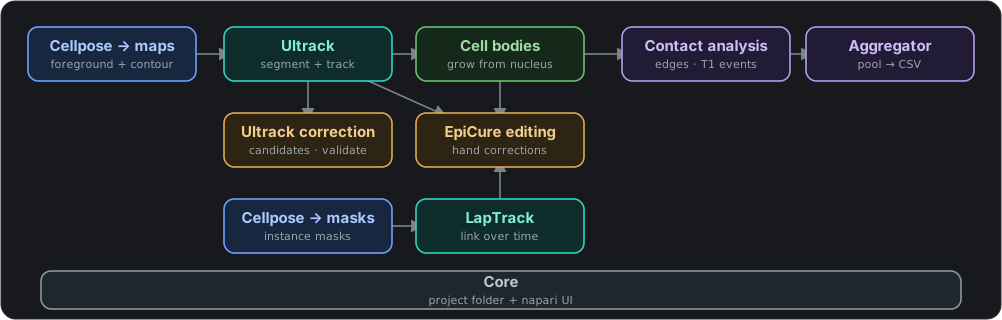
Everything ITASC is made of. This page installs the whole set; each getting-started page that follows installs one slice, and its board shows which pieces light up.
Install uv
uv is a small free program that does the setup: it installs its own copy of Python and the ITASC software, without changing anything else on your computer. You install it once.
On Windows, open PowerShell, which is a kind of terminal: press the Start
key, type PowerShell, and press Enter. Paste this line into the window and
press Enter:
powershell -ExecutionPolicy ByPass -c "irm https://astral.sh/uv/install.ps1 | iex"
On macOS or Linux, open the Terminal app and run:
curl -LsSf https://astral.sh/uv/install.sh | sh
When it finishes, close the terminal window and open a new one. uv only becomes available in terminals you open after installing it. Check that it is there:
uv --version
A version number means it worked. command not found means the window is still
an old one: close every terminal window, open a fresh one, and try again.
Install ITASC
This one command installs napari and ITASC together:
uv tool install napari --python 3.12 --torch-backend=auto --with "itasc[all]==0.2.0.dev0"
It downloads its own copy of Python, then napari, ITASC, and the tools each stage needs. One of those tools, used for finding cells, is over a gigabyte, so this runs for several minutes and shows little while it works. Let it finish.
The --python 3.12 picks a Python version that every ITASC tool provides
ready-made. Leave it out and uv may pick the newest Python, which some tools have
no ready-made files for yet; it then tries to build them from scratch and stops
with an error asking for a C++ compiler. The ==0.2.0.dev0 pins the current
pre-release; uv prints a short “is yanked” note as it installs, which is expected
and harmless. Once a stable version is published, this command will be shorter:
uv tool install napari --python 3.12 --torch-backend=auto --with "itasc[all]".
Until then, keep the pin.
Open ITASC
Start napari by typing:
napari
An empty napari window opens. In the menu bar at the top, click Plugins → ITASC → ITASC. A panel appears on the right of the window: that panel is ITASC. If it is there, the install worked.
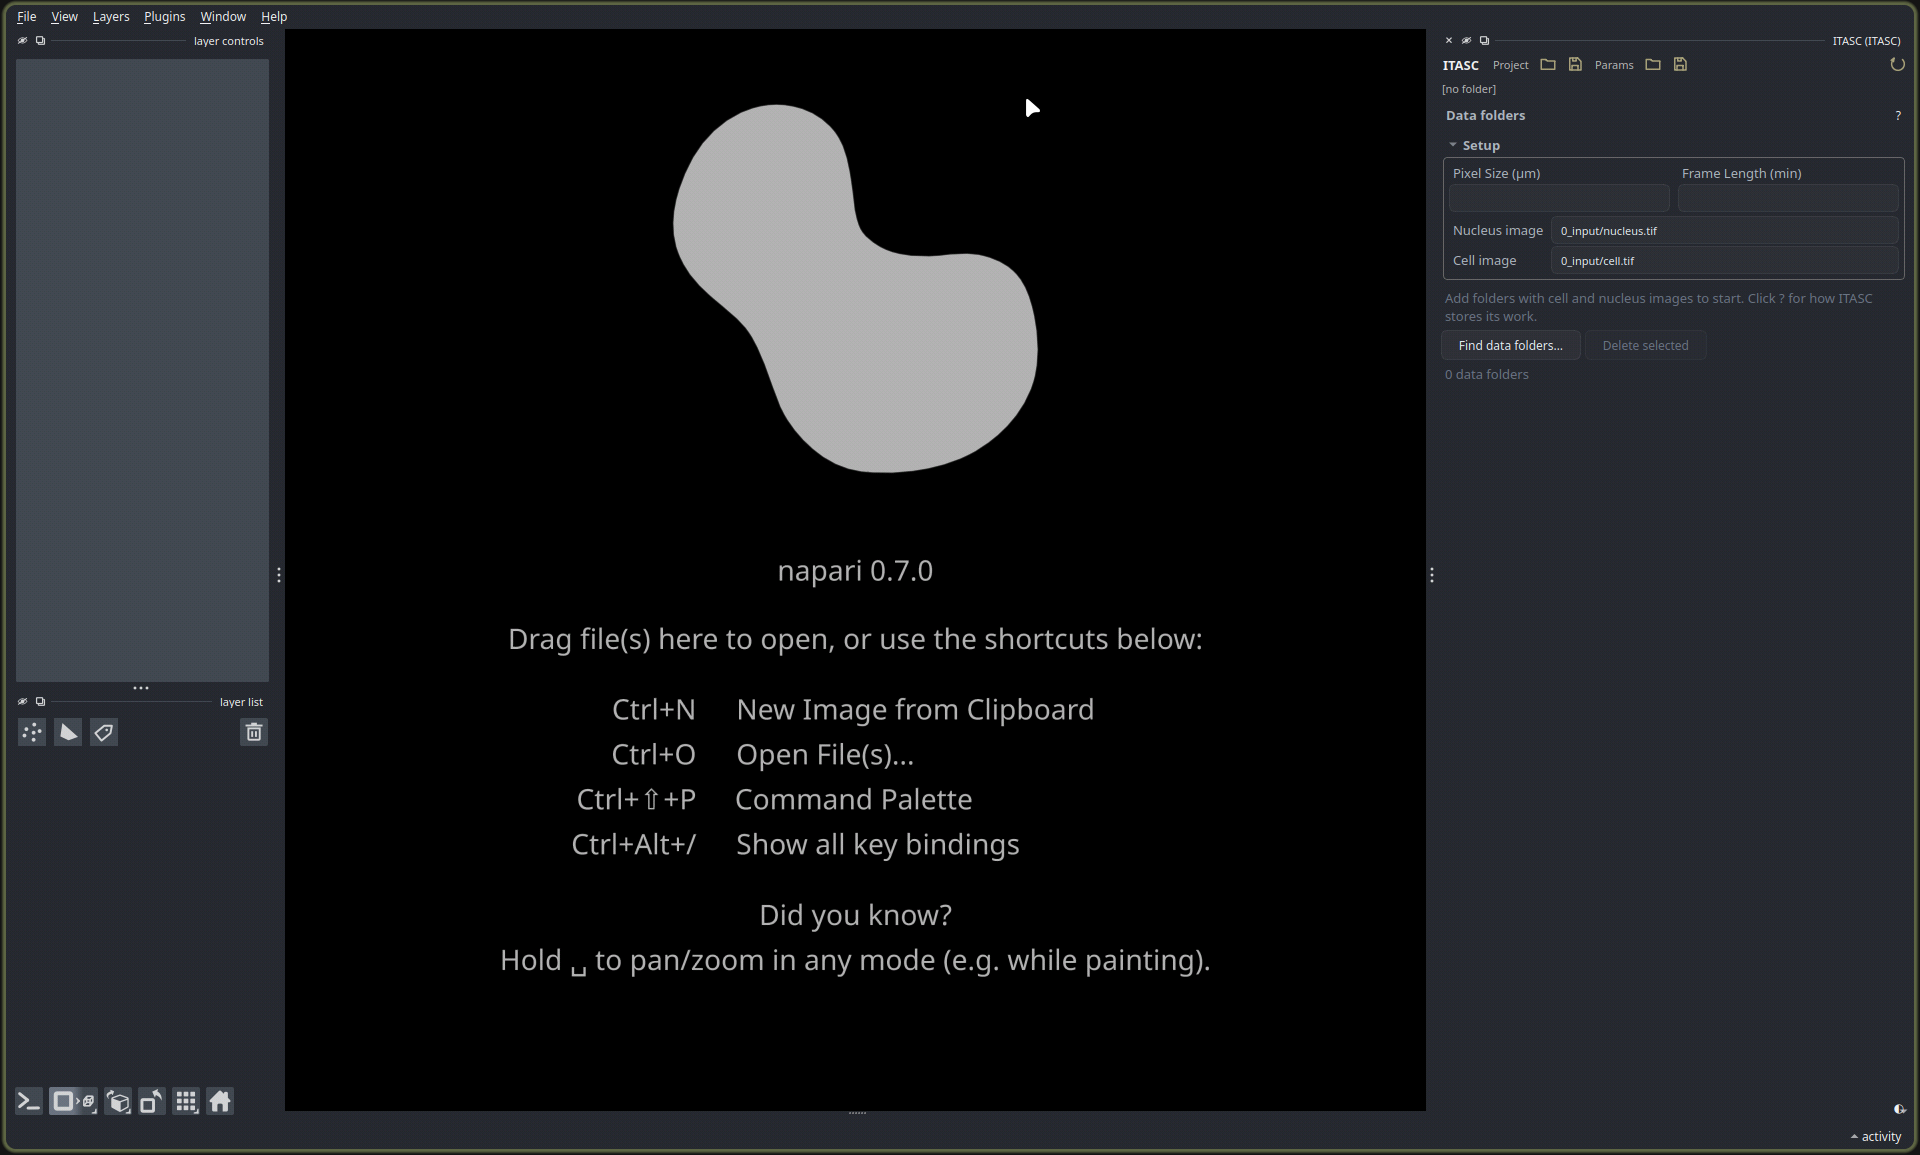
napari just after opening the plugin: an empty viewer with the ITASC panel docked on the right. If the panel is there, the install worked.
If typing napari gives command not found, the terminal is an old one: close
it and open a new one. If napari opens but there is no ITASC under
Plugins, run the install command again.
With the panel open, the full-app guide walks through where your files live on disk and the four stages in order.
Graphics card (GPU)
One step, finding the cells, runs far faster on an NVIDIA graphics card than on the computer’s main processor. The other stages do not use the card. So the card matters if you segment, and not otherwise.
The --torch-backend=auto in the install command sets this up for you. uv checks
whether the computer has an NVIDIA card and installs the version that uses it. If
there is a card, segmentation uses it with nothing further to do. If there is
not, segmentation still runs on the main processor, only slower. The install
command is the same either way.
This applies to NVIDIA cards only. Other graphics chips, including Apple’s, fall back to the main processor.
To see which one is in use: when segmentation runs, napari’s terminal window prints whether it found the graphics card or is using the processor.
If you have an NVIDIA card and segmentation still runs slowly, its driver is
probably too old for the version uv installed. Update the graphics driver from
NVIDIA, then run the install command again. If it is still slow, you can name the
version yourself instead of letting uv choose: PyTorch’s Get
Started page shows which one matches
your card, and you replace auto in the install command with it (for example,
cu124).
Update and remove
ITASC comes bundled with napari, so both are managed under the name napari.
Update them, graphics support and all, with:
uv tool upgrade napari
Remove them and everything they installed, leaving the rest of your computer untouched, with:
uv tool uninstall napari
Other stages
Most people want the full pipeline and can stop here. Each stage also ships on
its own, for running one kind of job on its own data. The setup is the same; only
the name after --with changes:
# Finding cells (sparse), then linking them across frames
uv tool install napari --torch-backend=auto --with "itasc-cellpose[cellpose,laptrack]"

# Turning cell maps into tracks, plus manual correction
uv tool install napari --with "itasc-tracking[solve]"

# Turning tracked cells into contacts and T1 events
uv tool install napari --with "itasc-aggregate"
Each command sets up napari with that one stage, so installing a second one
replaces the first. To have every stage at once, install the full pipeline,
itasc[all], from the top of this page. Each stage’s own guide, linked from the
overview, says what to open from the Plugins menu.
For people who write Python
itasc-core is the shared code underneath the stages, meant to be imported from
your own Python rather than opened as an app. Add it to a project with:
uv add itasc-core
The core guide covers what it provides. If you already have a Python
environment, you can install any of the packages above into it directly with
pip install or uv pip install and skip the uv setup entirely.